
Timothy Jardeleza


Tim’s Dream Pond: A DIY Journey to a Natural, Flourishing Ecosystem (with Play It Koi)
TL;DR: Tim upsized a 500-gallon backyard pond to ~7,000 gallons with a gravity-fed system: bottom drains + skimmers → FREE 35 drum filter (RDF) → AlphaNANO 6.3 bio → Viper 400W UV → PerformancePro Dial-A-Flow pump → bog + returns. With planning help from Derek at Play It Koi, the result is clear water, low maintenance, and a natural look. The parts list (with product links) and a repeatable build plan are below.
Meet Tim (and the Big Idea)
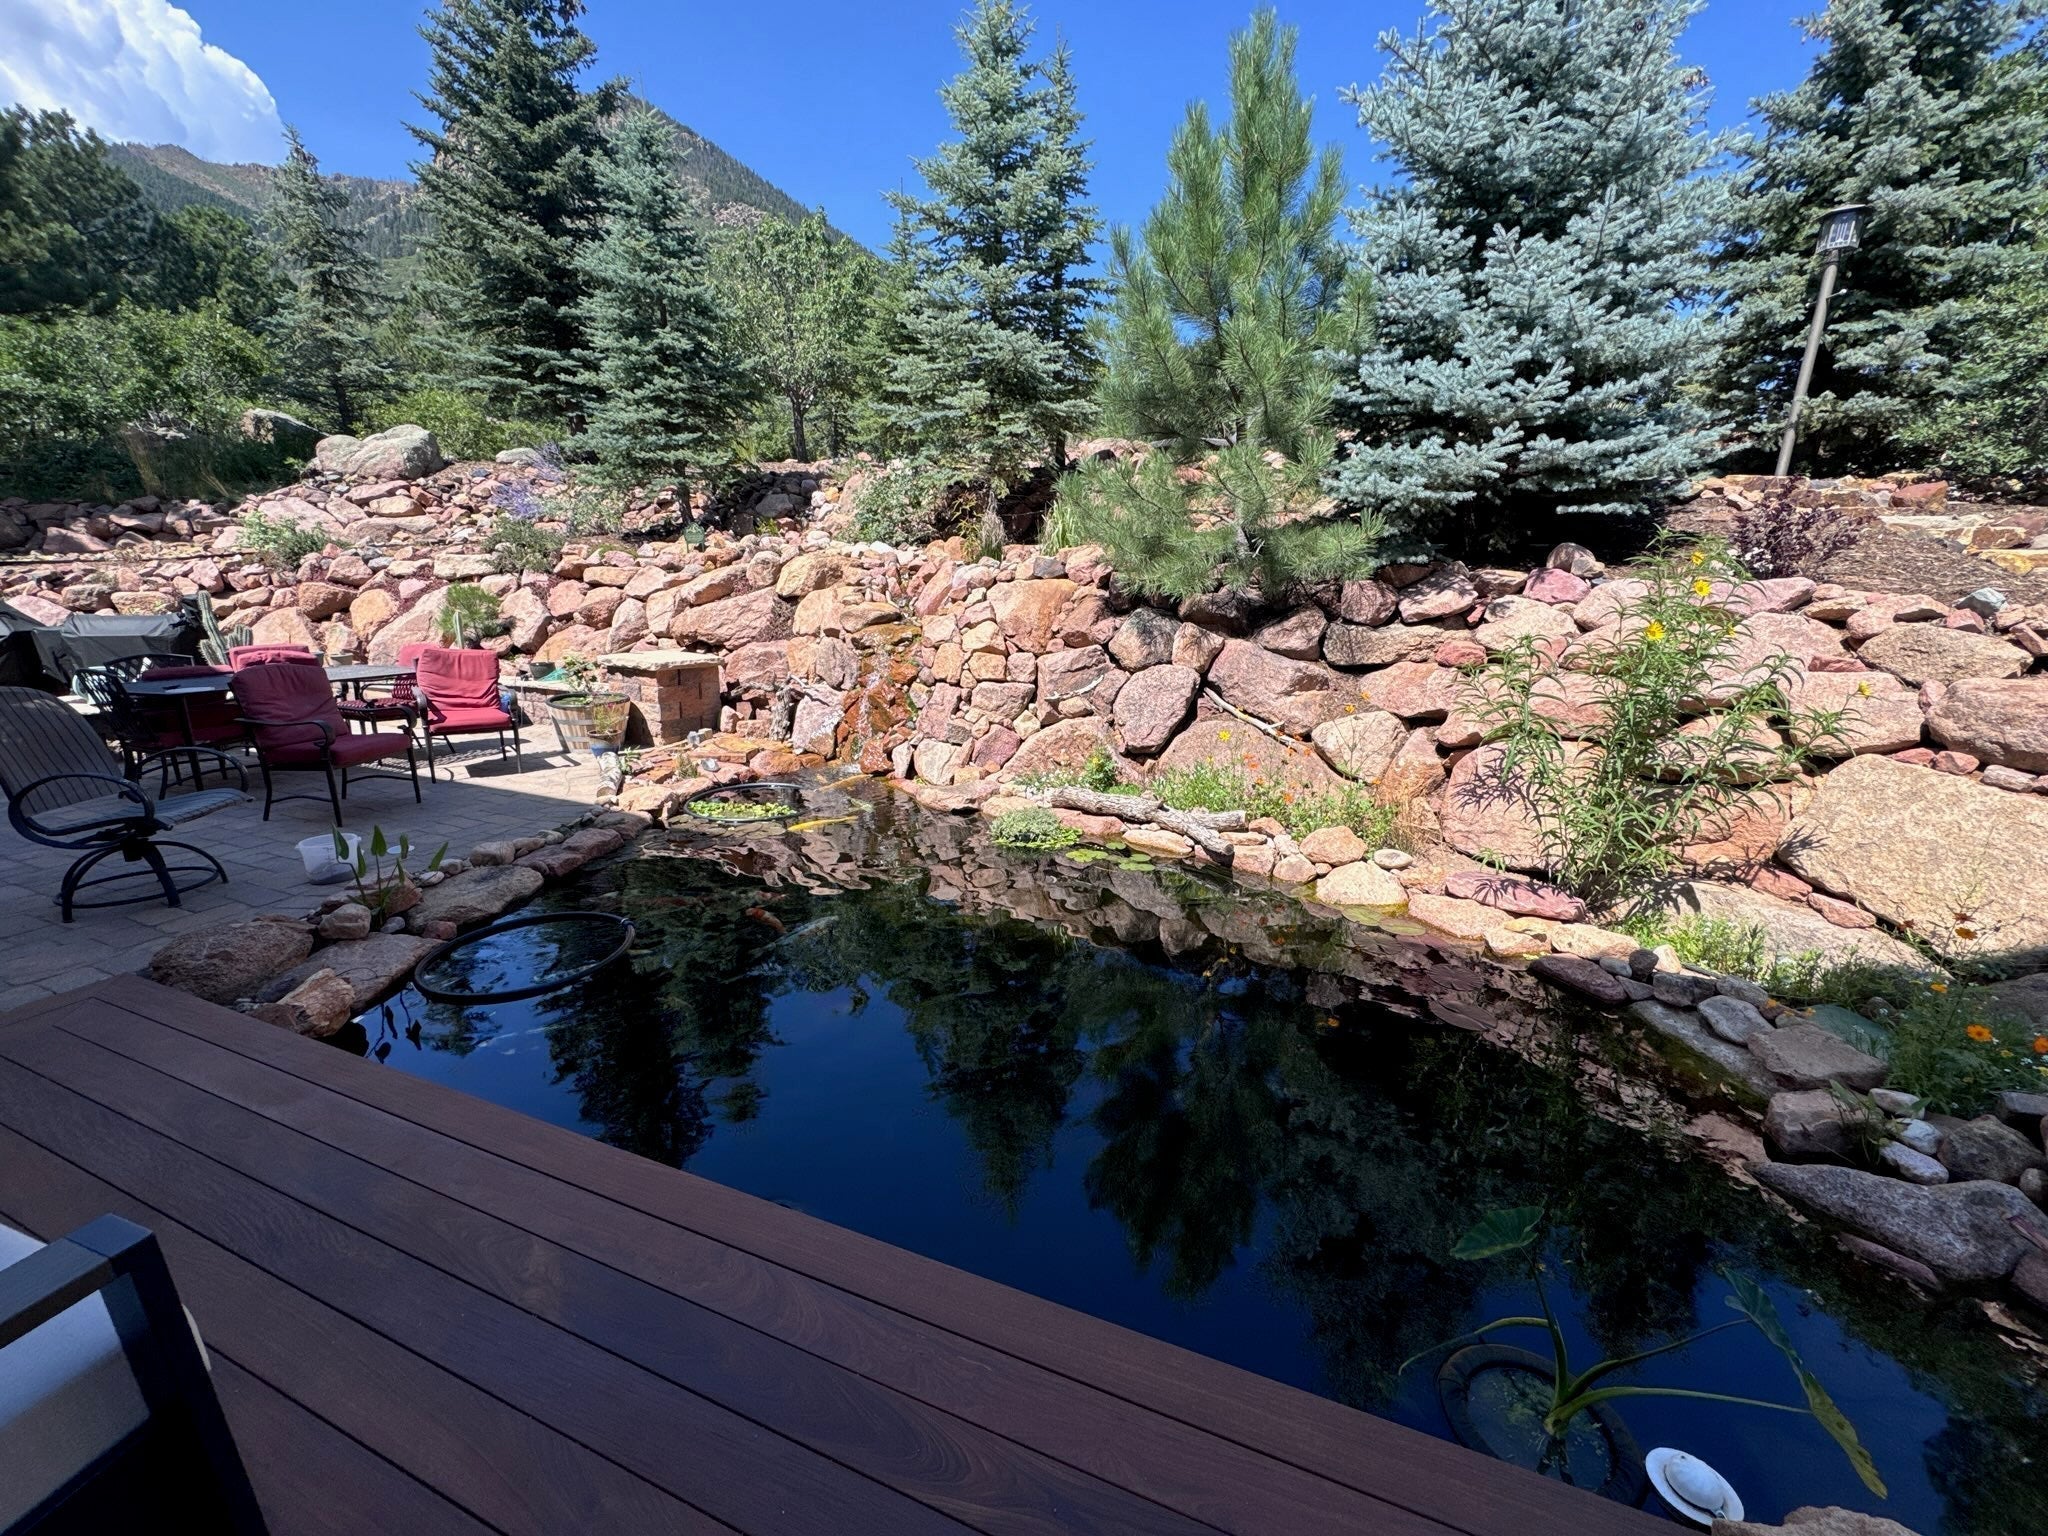
Tim wanted a pond that looked like it grew out of the landscape—not a box dropped into the yard. He expanded from ~500 gallons to roughly 7,000 gallons to give his koi room to roam (temporary fish housing in a swimming pool… dedication!). With Derek at Play It Koi as a planning partner, the goal was a system that’s low-maintenance, energy-smart, and winter-ready.
- Intake: 3″ Kick-Ass No-Niche skimmer (gravity-fed) plus the existing Helix skimmer with submersible pump kept for redundancy and winter circulation.
- Bottom drains: twin 4″ drains feeding the RDF by gravity; each line planned for ~3,500 GPH.
- Mechanical: FREE 35 drum filter set slightly above the pond’s high-water line.
- Bio: AlphaNANO 6.3 pressure/bio filter sized to the fish load and volume.
- Polish: Aqua Ultraviolet Viper 400W UV with a bypass to meet flow/contact-time needs.
- Circulation: PerformancePro ArtesianPro Dial-A-Flow variable-speed pump to tune GPH seasonally and save watts.
- Finishing: planted bog/wetland and strategic tangential returns (TPRs) to keep debris moving in a gentle clockwise gyre.
The Dig: Machines, Boulders, and a Concrete Pad
Tim rented an excavator and immediately met his first boss fight: boulders up to 6–8 feet across. He hand-dug the bog where access was tight, then poured a 4×6 ft pad for the filtration shed. He loosened the basin’s subgrade so bottom-drain trenches would settle cleanly and hold slope. Perimeter boulders were placed early so edgework would look native later.
Pro tip: run utility trenches before liner so penetrations (bulkheads, returns, skimmer throat) are easy to place and seal.
Filtration & Gear—Why These Choices Make DIY Life Easier
- FREE 35 Drum Filter (RDF): automatic solids removal, gravity-fed for low head loss, compact footprint. Set the drum’s rim a few inches above the pond’s high-water line when gravity-feeding from drains/skimmer.
- AlphaNANO 6.3 Bio: 3″ ports match the plumbing strategy; place it above grade for easier winterization and backwashing.
- Viper 400W UV: one large lamp simplifies maintenance. Use a bypass loop to maintain proper contact time without over-pumping the system.
- PerformancePro Dial-A-Flow pump: variable speed lets you dial back for winter, ramp up for bog season, and save energy across the year.
- TPRs/returns: two 2″ tangential returns aimed to create a gentle gyre that pushes fines toward the skimmer and drains.
Plumbing That Survives Winter
- Big pipe, small friction: 3″ mains on the new runs keep velocities down and head loss low.
- Through-liner bulkheads: external locknut + internal female threads minimize glue points and leak risk.
- Sweeps & angles: pair of 45s instead of hard 90s; where ABS sweeps met PVC, Tim used transition cement.
- Valve depth: gate valves ~30″ below water level reduce vertical lift and freeze exposure on the 4″ BD lines.
- Check valve: placed near the bio stage so the long bog feed can’t drain back at shutdown.
- Return strategy: two pressure-side returns on opposite walls shepherd surface and mid-column debris toward collection points.
- Winter plan: shut down above-grade filtration; run the Helix skimmer’s submersible for gentle under-ice circulation; place aeration 12–24″ below the surface to preserve the warm bottom layer (thermocline).
Step-by-Step: The Repeatable Build Pattern
- Sketch the flow first (intake → mech → bio/UV → returns/bog).
- Excavate & set the edge (collar or thickened rim) so stone and decks don’t creep.
- Place boulders & shelves now—easier before liner.
- Run plumbing (separate lines for skimmer and each bottom drain to the RDF; label everything and use unions).
- Pour the equipment pad; set the RDF rim slightly above high-water line.
- Liner & penetrations: bulkheads, TPRs, skimmer throat—then slow-fill while smoothing folds.
- Set bio + UV + pump; add a UV bypass and a check valve near the bio stage.
- Aim returns to create a lazy gyre; tune pump speed for clarity, quiet, and energy use.
- Plant the bog; let roots do the nutrient export.
- Winterize smart: keep a hole open up top; avoid boiling the deepest water.
Shop Tim’s Build (click to view products)
| System | Component | Product | Variant / Notes | Qty |
|---|---|---|---|---|
| Skimming/Intake | Skimmer media pad | Helix Life Support Blue Matala Pads | 14.5" dia., fits Helix skimmer | 1 |
| Skimming/Intake | Skimmer overflow | Helix Skimmer Overflow (HBHF) | Find HBHF variant on parts page | 1 |
| Skimming/Intake | No-niche skimmer | Kick Ass No-Niche Skimmer | 3" Standard (gravity to RDF) | 1 |
| Mechanical Filtration | Drum filter (RDF) | FREE Drum Filter | Model FREE 35 | 1 |
| Mechanical Filtration | RDF accessory | FREE Drum Filter – accessories/info | Inlet Box | 1 |
| Biological Filtration | Pressure/bio | AlphaNANO Filters | 6.3 (20,000-gal class) | 1 |
| Polish | UV sterilizer | Aqua Ultraviolet Viper 400W | Add bypass loop for flow control | 1 |
| Circulation | Variable-speed pump | PerformancePro Dial-A-Flow | ArtesianPro 1.6N class | 1 |
| Returns/Flow | Tangential return | TPR – 2" | Aim to create a gentle gyre | 2 |
| Returns/Flow | Sidewall return/overflow | Rhino I Overflow / Sidewall Return | 2" (RHOSF-2) | 1 |
| Aeration | Air manifold | Matala Heavy Duty Air Manifold | 5/8", 3-valve | 1 |
| Fish Care | Handling net | Nycon Koi Sock Transporter | KOI-S5 | 1 |
| Nutrition | Koi food | Nijikawa Professional Sinking Pellet | 22 lb, 5 mm | 1 |
Confidence Boosters for First-Time Builders
- Gravity is your friend. Let bottom drains and a gravity-fed skimmer carry waste to the RDF so solids are removed before they dissolve.
- Fewer elbows, bigger pipe. Use sweeps and paired 45s; upsize mains for quiet, efficient flow.
- Bog = bio bonus. Plants export nutrients that algae would otherwise eat—your water clears and your lilies thrive.
- Plan a UV bypass. Keeps contact time right without over-cranking the system.
- Winter sanity. Keep the top open and oxygenated; don’t churn the deepest water in cold snaps.
Common Pitfalls (and How Tim Dodged Them)
- Setting the drum too low: for gravity-fed drums, the rim must sit above high-water mark.
- Starving the UV: add a bypass loop so the UV sees the right flow without throttling the rest of the circuit.
- Too many tight turns: every sharp elbow adds turbulence; keep valves accessible and runs clean.
Maintenance—Simple Rhythm
- Weekly (seasonal): empty skimmer basket/net; peek at the RDF spray bar; glance at bio pressure gauge.
- Monthly: check pump strainer, verify UV bypass position, trim bog plants.
- Spring/Fall: replace UV bulb annually; inspect unions, gaskets, and air lines; thin the bog.
Want a Pond Like Tim’s?
Send us your rough dimensions, target fish load, and a quick phone pic of the yard. We’ll map your flow diagram, size the equipment, and turn it into a single-click cart so you can get building.